
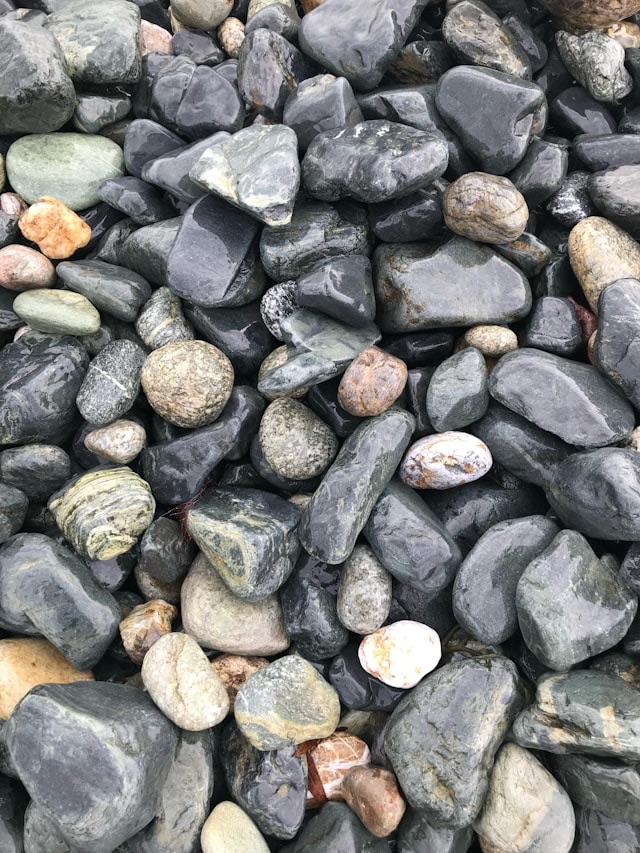
Folks often ask how to turn their stacks of notes into a book. I compare the process to rock collecting: seeking and gathering treasures, discovering and appreciating what’s there, and arranging them into mini collections.
This process isn’t about turning notes into a book overnight. It’s about the joy of discovering the treasures already in your notes and finding wonderful ways to arrange them into a book outline. The more fun you have in the process, the more engaging your book will be for your readers.
Let’s look at how to turn notes into a book—rock-collecting style.
Step 1: Search
Rock collectors search through the landscape, looking carefully for rocks worth keeping.
As you prep for your book, you can do the same. You can search through your notes to find ideas that get your attention—the ones that feel most inspiring to you. Highlight the ideas that stand out, so you can spot them again easily.
Step 2: Gather
Rock collectors put their favorite finds into a bag to take home.
As you find those inspiring ideas in your notes, you can gather them into one place, whether it’s a file folder on your computer or phone, or a binder or box for paper notes. The purpose is to make sure all those treasures are together in one place and easy to look through.
Step 3: Sort
Rock collectors sort their new finds by size, shape, color, or other categories.
As you review your newly discovered, favorite ideas, you can sort them by themes, lessons, seasons of life. You can keep your categories broad. This is just a chance to see what general types of ideas you have in your notes.
Step 4: Identify
Rock collectors will look at each find and identify it with a label.
As you review your notes, look for ways to label each note by topics. You can label notes with multiple topics for now. The goal is to see what kinds of topics are emerging from your notes—and to notice when you see recurring and strong topics.
Step 5: Appreciate
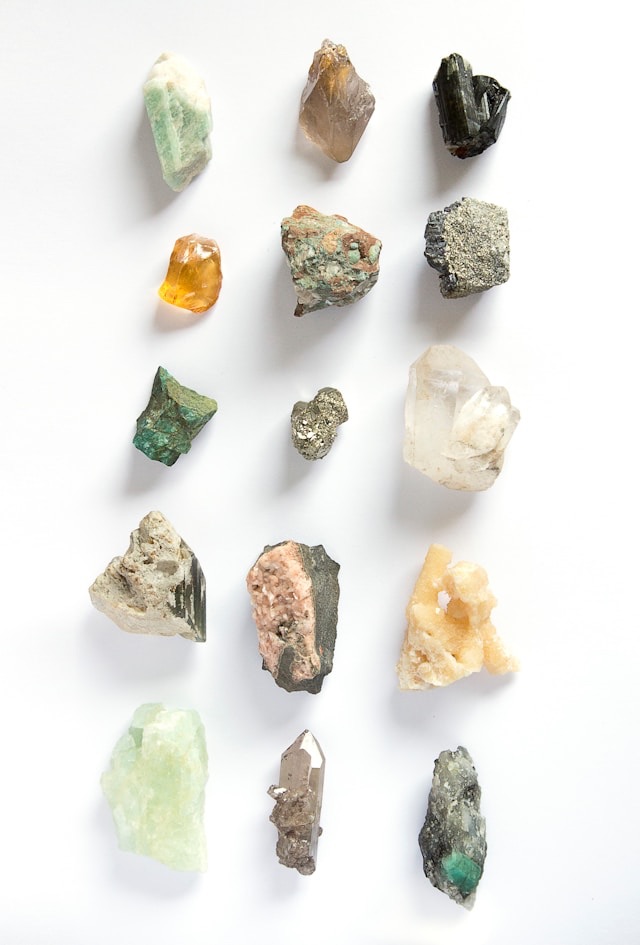
Rock collectors pause to appreciate the beauty of the rocks they have gathered. They take time to look over and enjoy each mini treasure.
Likewise, you should take a moment to look at each note you’ve highlighted and appreciate its beauty, unique features, and value to the story you want to tell. This step will help you see and appreciate how much material you have already—and by now, those notes are probably inspiring you to add more.
Step 6: Arrange
Rock collectors enjoy grouping their rocks together into mini collections, often for display around their home.
In a similar way, you can arrange your notes in ways that fit naturally together. You might even discover that some notes fit together better than others. That might mean you have more than one book in the making.

As you arrange your notes in clusters and see how they fit together, you’ll start to see your book outline take shape. For those notes and topics that don’t fit this first collection, you can set them aside for a future collection—another book!
See Your Book Outline Coming Together
It’s wonderful to watch your book outline emerge from the beauty of your previously scattered notes. And to recognize the treasures you already have and how those fit into your book.
Ready to take your next step? Grab a bundle of notes and ideas that you’ve jotted down. Search for and mark the ideas that stand out to you the most—the ideas that most inspire you right now. Put them in your book file for sorting. That’s enough to get you started.
After you get the first batch sorted and identified, search through more of your notes—always looking to discover those treasures you can arrange together into your book.
Have fun in the process. The more you enjoy gathering and arranging your notes, the more your readers will connect with the book that emerges.
