
A freshly painted room is so inviting. Everything is brighter. Relaxing. You want to spend time there.
While the thought of painting a room may seem daunting, the right preparation will make the project easier and the results stunning. You’ll be thrilled to enjoy your newly transformed room.
Here are five prep tips that will give you the best painting experience and make your walls beautiful.
Tip 1: Prep the Space and Clean the Walls
Before you open a paint can, you’ll want to prep the room and the walls. Be sure furniture and any curtains are moved away from the walls and covered if need be. If you have pets or small children, you might want to baby-gate the room if it doesn’t have a door. Remove switch plates from the walls.
Next, you’ll want to wipe the walls with a damp cloth using a mild soap. This gets rid of dust and grease that would stop the paint from going on smoothly or sticking to the walls properly. Allow the clean walls to dry before you begin painting.
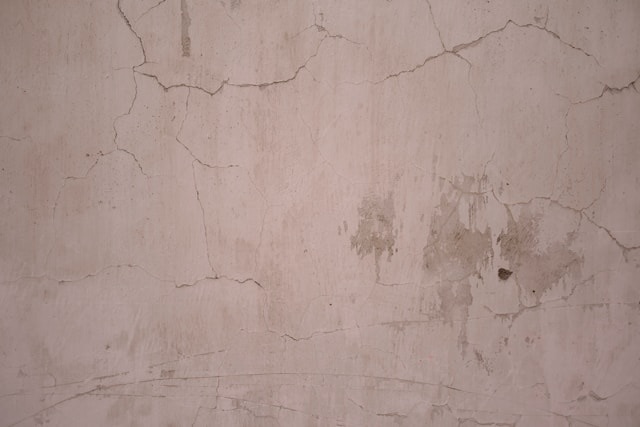
Tip 2: Patch up Holes and Cracks
Nail holes, ripples, ridges, cracks, dents—these will all show through your new paint and cause bubbles and bumps. It’s best to start painting on a smooth surface. That means patching holes with spackle, sanding those areas smooth, and letting the walls dry again before painting. Try shining a flashlight on the wall to be sure you’ve noticed all the holes and bumps.
Tip 3: Tape Properly
Painter’s tape will protect trim, floors, and other edges from paint drips and wayward brush strokes. Get a good quality painter’s tape and follow the application instructions, or you’ll be frustrated with the results.
While it takes time to place all that tape, it is worth the effort. You’ll enjoy your newly painted walls so much more, and you won’t cringe when you see splotches of paint where they’re not supposed to be.
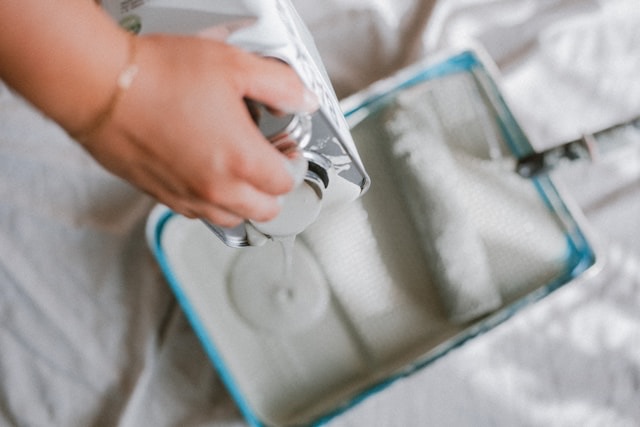
Tip 4: Apply Primer
Whether or not you think you’ll need it, primer really helps your paint stick to the walls better and create a smoother surface. Primer will also help create a uniform shade of color, regardless of stains, patches, or dark coloring underneath.
I painted a wall that didn’t get much sunlight and was much darker than the others in the room. I assumed one coat of primer would be enough, but that one wall needed multiple coats before the color finally looked even with the rest of the room. It was a good reminder that darker or shaded walls often need extra primer to help the paint go on evenly and look its best.
Tip 5: Allow Drying Time
You’ll want to leave enough drying time between coats, or you may end up with smudges or peeling. The paint manufacturer specifies appropriate drying time. Excessive humidity or poor ventilation can slow the drying process.
Note about painter’s tape removal:
After the walls are painted, you’ll want to follow the tape brand’s instructions for how soon to remove the tape. And you might have to change out the tape when doing multiple coats of paint.
Some painters remove the tape when the paint is still wet, while others wait until the paint is dry to the touch but not fully cured. Remove too soon, and you can have smudges. Wait too long, and you’ll pull up pieces of paint, although using a putty knife to score along the edge of the tape can help. You can experiment with a small area to check the results.
I painted a kitchen and left the tape on all the walls for several days, while I focused on an area above the cabinets. When I went to remove all the tape, it didn’t come up well. I spent several hours doing touch ups. I won’t wait that long next time.
Worth the Prep Time
You might be excited to get your walls painted, or you may be dreading the process and just want to get it over with. Either way, you’ll discover that a little extra prep is worth the effort.
When your walls are properly prepped, the paint will look beautiful and last a long time. You’ll appreciate the transformation every time you walk into that room.
*****
Need clear, homeowner-friendly blog content like this for your painting or home services business? Let’s connect—I’d love to help you reach your customers with practical, engaging posts.
